Creating stunning visuals with Napkin AI is surprisingly straightforward, even if you've never used a design tool before. Here's exactly how to go from text to professional-looking graphics in minutes:
Step 1: Create Your Account (Desktop Only)
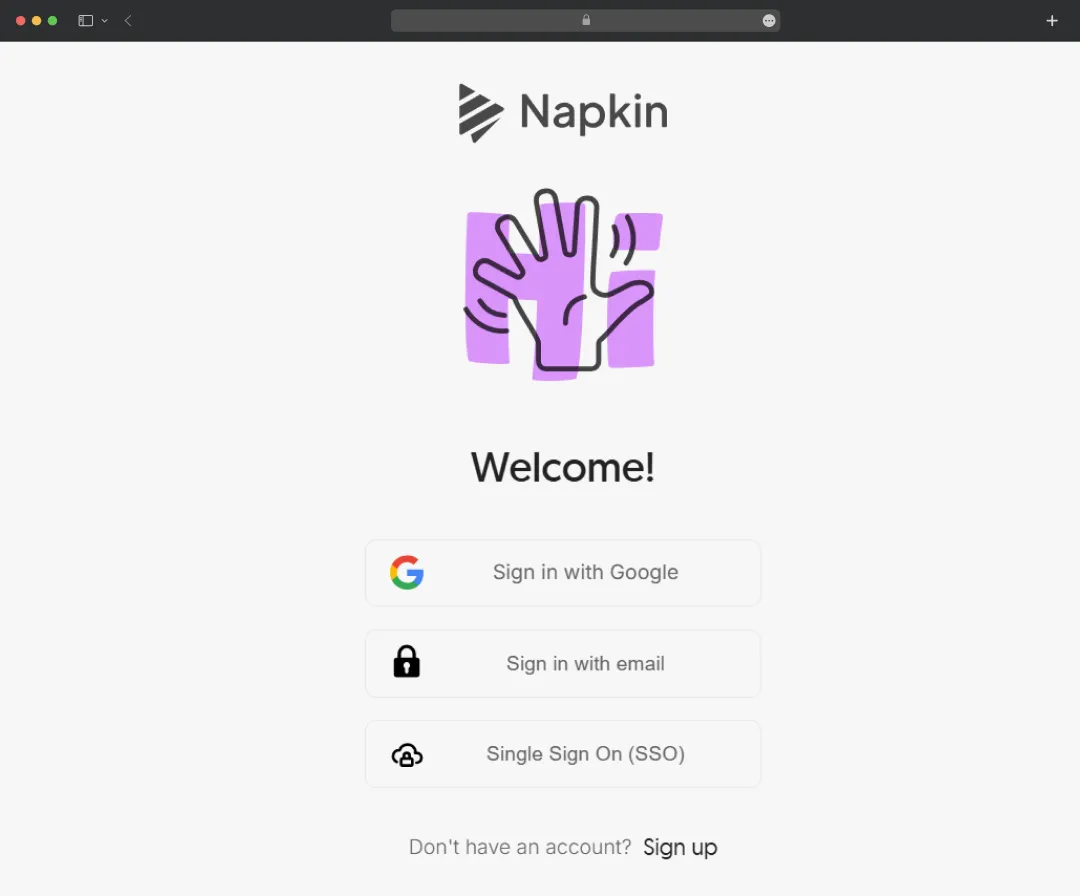
Account creation is only available on desktop computers (not on mobile devices). Head to Napkin AI website - https://app.napkin.ai and you'll have two sign-up options:
Quick Sign-Up: Use your Google account for instant access
Traditional Sign-Up: Register with your email and create a password
Once logged in, you can follow the onboarding tutorial to learn how to generate visuals with Napkin AI. Don't skip this—it takes about 2 minutes and shows you the basics.
Step 2: Start a New Document
After creating your account, you'll be presented with two options: "Paste My Text" or "Generate Text Using AI". Here's when to use each:
Option A: Text Paste
- Paste your Text if you already have content written—blog posts, presentation notes, meeting summaries, lesson plans, or any text you want to visualize
- Simply copy your existing content and paste it into the blank canvas
Option B: Generate Text Using AI
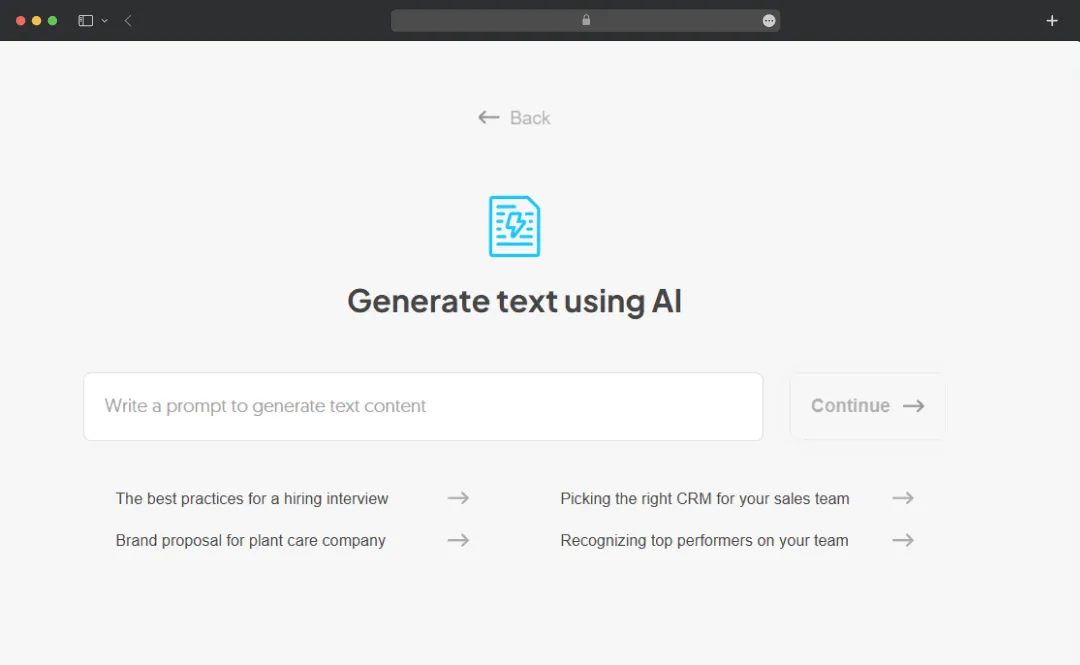
- You can generate content for a topic using AI and then create visuals based on that content
- Enter a topic or concept, and Napkin's AI will create text content for you
- Perfect when you're starting from scratch or brainstorming ideas
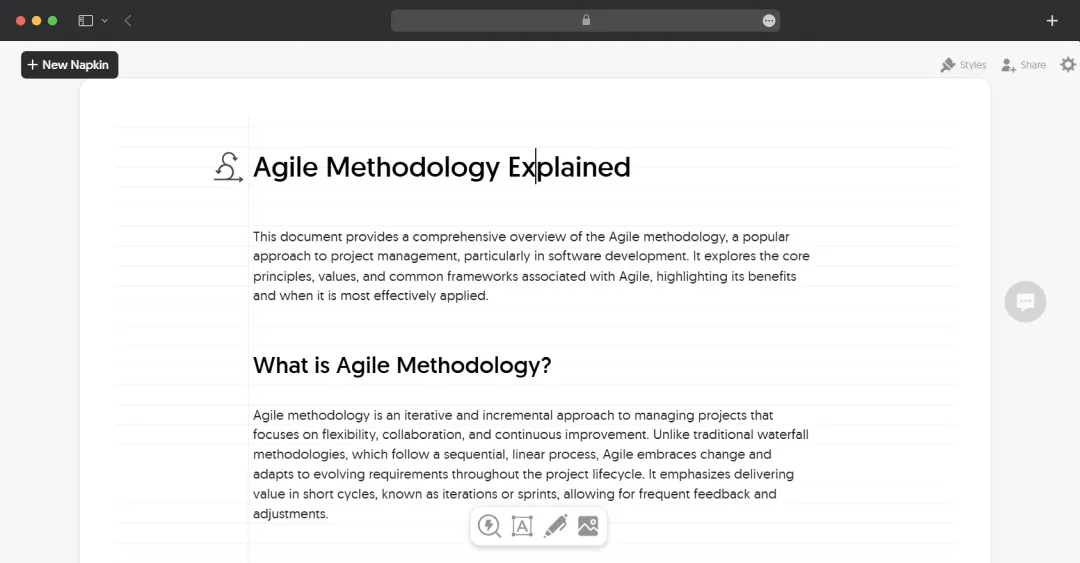
Step 3: Generate Your Visual
Now the real thing happens. Hover over the block of pasted/generated text, and click the blue Generate Visual button that appears on the left side.
Tip: You can also generate a visual from a specific section of your document by selecting the text and clicking the blue Generate Visual button.
What Happens Next: After a few seconds, a list of visuals generated from your text will appear on the screen. Scroll through the options to pick your favorite, then choose a style for your selected visual.
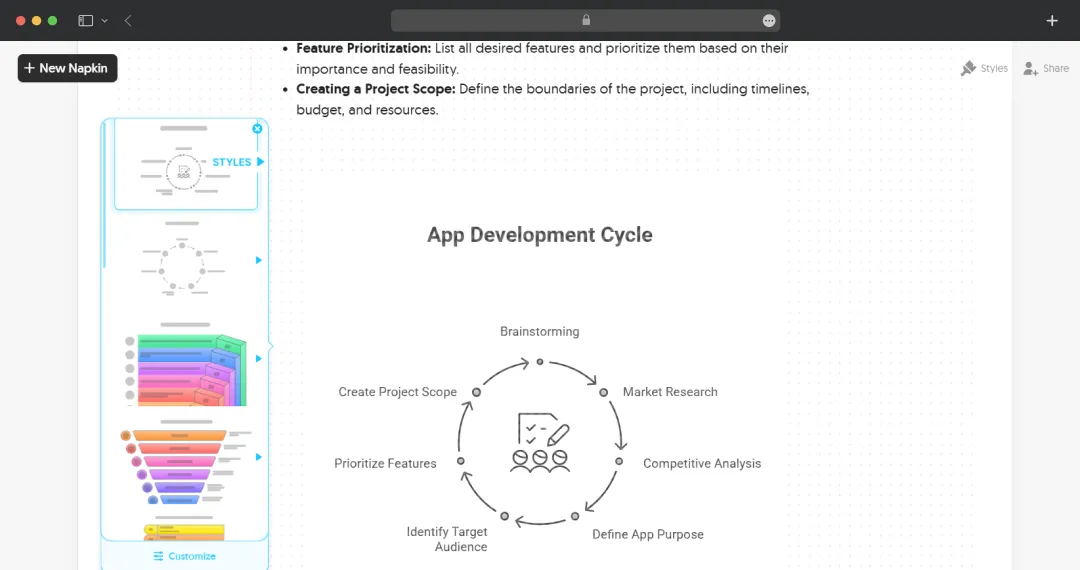
You'll typically see multiple options:
- Different layout approaches for the same content
- Various visual formats (diagrams, flowcharts, mind maps, timelines)
- Different style variations for each format
Step 4: Select and Customize Your Visual
Browse through the AI-generated visuals and pick the one that best fits your content and style. Once you've found your favorite:
- Selecting the Visual: To confirm your choice, click on the visual you want to use. It will be added to your document.
- Customization Options: After selecting a format, you can personalize it by adjusting colors, adding icons, or tweaking the layout to suit your preferences. The created graphics are completely modifiable. You can change the styles and content.
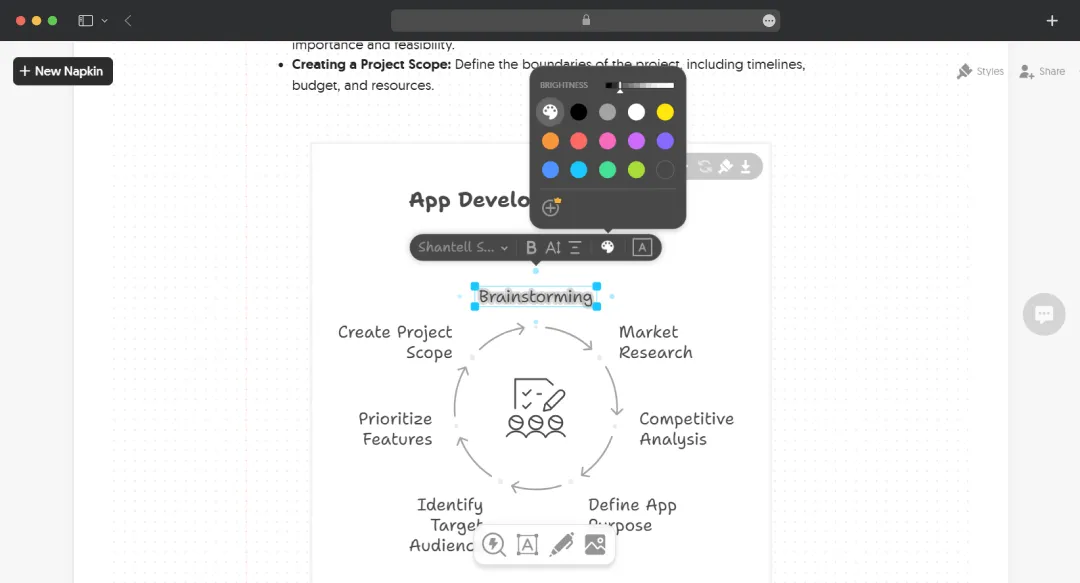
Here's what you can customize:
- Decorators: Searchable icons that you can add or swap from an extensive database
- Connectors: Elements that connect different aspects of your graphic, demonstrating links and flows
- Colors: Adjust color schemes to match your brand or preference
- Fonts: Change text styles to suit your needs
- Layout: Rearrange elements by dragging and dropping
- Content: Edit text directly within the visual
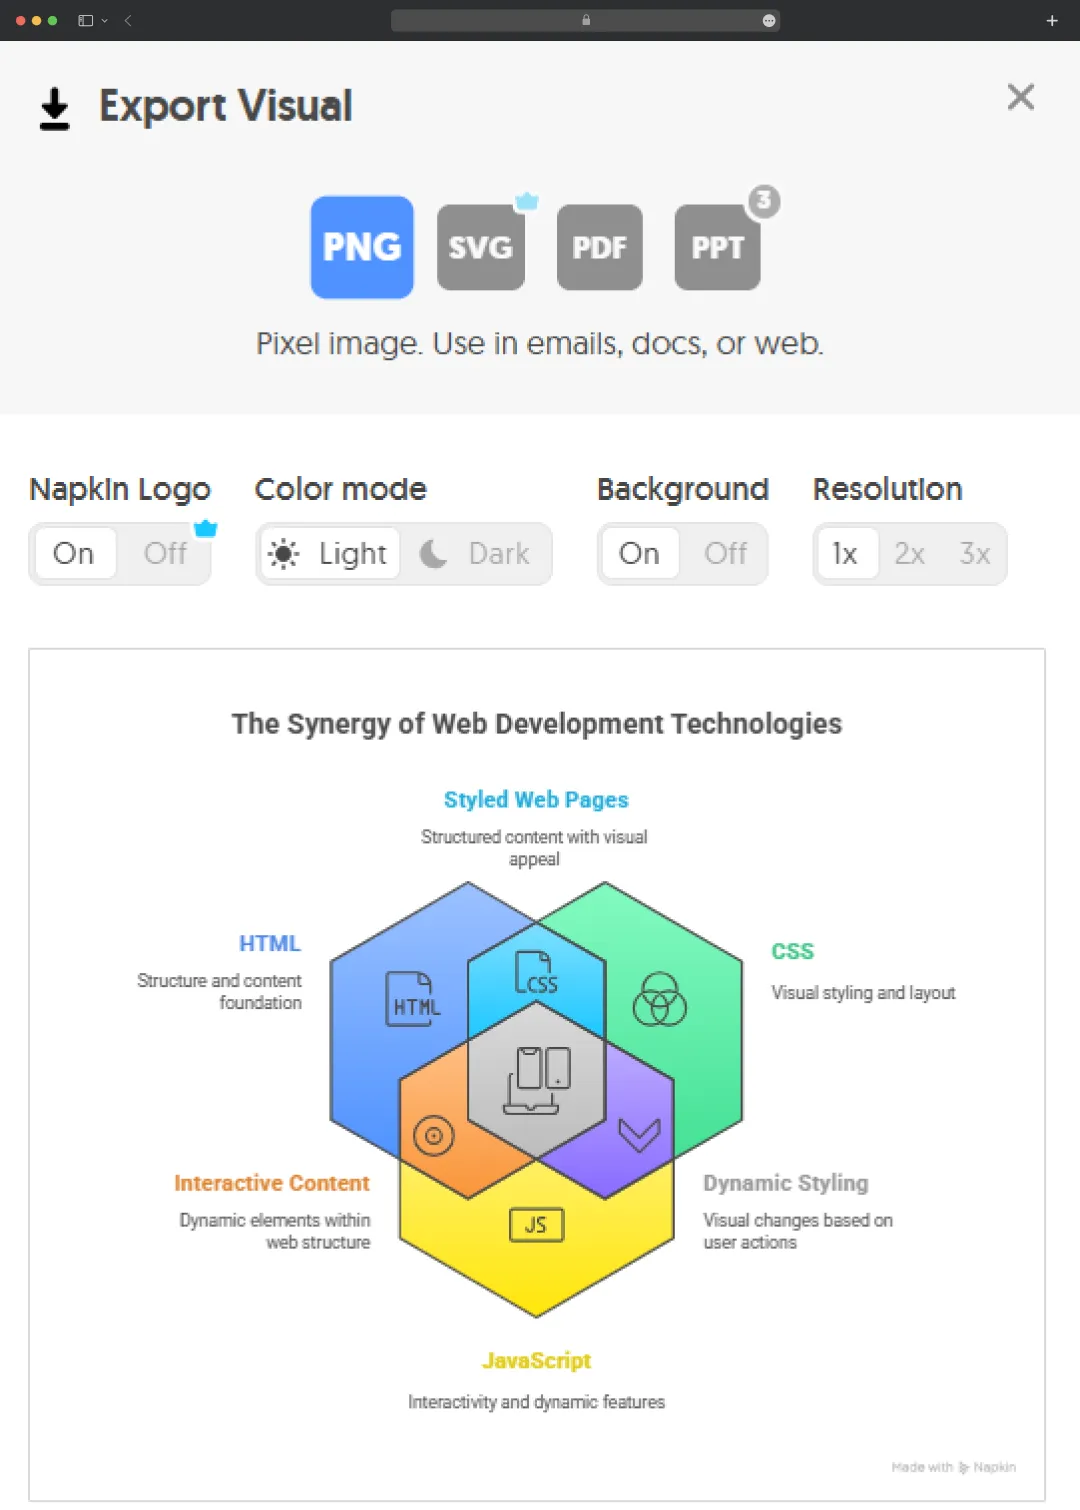
Step 5: Export Your Creative
Once you're satisfied with your visual, it's time to get it out of Napkin AI and into your presentation, document, or social media post. You can export it in PNG, SVG, PPT, or PDF format if needed.
How to Export: Right-click on the visual to see the download options, or use the export function, which opens a preview modal where you can choose to export the visual as a PNG, SVG, PPT, or PDF. You'll also have a few additional options, such as color settings.
Export Format Guide:
- PNG: Best for inserting into documents, websites, or presentations with a transparent or solid background
- SVG: Perfect when you need scalable graphics that won't lose quality when resized
- PPT: Direct export to PowerPoint for seamless integration into presentations
- PDF: Ideal for reports, sharing via email, or printing
Once you're pleased, save your visuals in formats such as .png, .pdf, or .svg.
What We at MobileAppDaily Think About Napkin AI
After thoroughly testing Napkin AI and putting it through real-world scenarios, our team at MobileAppDaily has some strong opinions about where this tool truly shines. Right off the bat, its USP becomes evident. Napkin AI is one of the only AI-powered visual tools that treats text as the starting point, design as the output, and editing as a natural continuation—not a compromise.
Moreover, Napkin’s learning Curve is Practically Non-Existent. In our testing across team members with varying design experience, everyone was creating professional-looking visuals within 5 minutes. There's no tutorial rabbit hole, no overwhelming toolbar, and no "where do I even start?" paralysis.
Unlike AI image generators that give you a final image you can't modify, Napkin's approach allows users to easily edit unique elements of illustrations, like individual slices of a pie chart. During our tests, this made all the difference.