
Wise App Review: Is it the Best Money Transfer App?

As our world gets more and more connected, the need to seamlessly make payments across nations and continents becomes more prominent. And, while there are many credible applications that are available in the market for the task, innovations with better features always happen. The innovation I will be reviewing today is Wise.
Wise is a finance app that has revolutionized international money transfer. It delivers ample capabilities to each of its users to send and receive money in more than 160 countries. And, it claims to deliver the lowest exchange rate fees along with multiple other convenient features. So, is Wise worth your time? Let’s find it out together through this Wise app review.
Pros and Cons of Wise
Pros
- Supports affordable international money transfers
- Send money overseas faster
- Wise card is available in 150+ countries and territories
- Manage and create an account for free
- Keep money on hold for any currency
- No hidden charges
- Easy to navigate
- Customer Service is available 24*7
- A dedicated customer service forum to solve queries
Cons
- Sign-up comprises two documents verification
- No check transfer service
- Large transfers can be costly
- Additional documentation beyond a specific range of transaction
Wise App Tech Specifications
Well, if someone truly wants to use an application or a service, they want a device that is compatible with the application to install it. So, to give you a basic idea about the Wise app’s compatibility with a device, here are its app specifications.
| Technical Specifications | Android App | iOS App |
|---|---|---|
| Version | 8.110.1 | 8.105 |
| Price | Free, In-App Purchase | Free, In-App Purchase |
|
Category |
Finance | Finance |
| Size | 46.61 MB | 268.5 MB |
| Compatibility | Android 6.0 or later | iOS 16.0 or later |
| Language Supported | American English, British English, Arabic, Chinese, Czech, Dutch, French, German, Hebrew, Hungarian, Italian, Japanese, Korean, Polish, Portuguese, Romanian, Russian, Spanish, Turkish, and Ukrainian | |
Wise App Features
Moving further, I have discussed the features of the Wise application below to help you understand the full capabilities of this money transfer app.
1. Transfer Money Internationally
In essence, Wise is an app used to transfer money fast. You can also transfer money to more than 70 countries. Plus, you get the exchange rates that are available on Google for money transfers.
If we talk about instant transfers, over 52% arrive within 20 seconds. And, if we talk about security, well, you get the trust of techniques like two-factor authentication, encryption, and biometrics.
2. International Debit Card
Wise card allows you to spend or withdraw cash in more than 160 countries. However, the rates and the features provided are subject to change as per geolocation. Also, if you don’t have any local currency, using this debit card, you can convert it with the lowest exchange rates possible. Plus, you get to freeze, unfreeze, or update your card details with ease.
3. Earn Like a Local
If you want your salary debited to your Wise account, you can do that. This service works in regions like the UK, Europe, and Australia. To avail it, these are the requirements:
- UK: Account Number and Sort Code
- Europe: IBAN (International Bank Account Number)
- For Australia: Account details and some additional information
Once this data is processed, you can get paid in multiple currencies without any cost, allowing direct debits. Also, the system provides push notifications for every transaction that you make.
4. Hold and Convert Currency
This is one of the best banking apps that allows you to hold over 40 currencies in your account. There is no monthly or maintenance fee in the majority of cases. You can easily convert between currencies with ease at a super-low fee. And you get the ability to auto-convert currencies at a particular rate. Plus, the app provides you with Rate Alerts to keep you updated.
5. Invest Your Money
If you want your money to make you money, then you can start investing using the Wise app. Just a few taps and you can try their “Interest” or “Stocks” option. The service is available in the UK, Singapore, and many other EEA (European Economic Area) countries. However, just like any investment app, growth is subjected to risk.
6. Business Account
Using Wise, you can even conduct your business better. The app allows you to pay invoices and bills much faster at incredible exchange rates. You can also use your account details to get paid by clients and customers from all over the world. The platform also seamlessly integrates with Amazon, Stripe, Xero, and many others.
7. Compliances
Wise is compliant with many regulations from all around the world. For this reason, it is capable of sending money from one location to another. To let you know whether the service is available in your area, here are the “Send From” and “Send To” countries mentioned on its app page.
Send from:
USD (US Dollar), EUR (Euro), GBP (British Pound), CHF (Swiss Franc), AUD (Australian Dollar), BGN (Bulgarian Lev), BRL (Brazilian Real), CAD (Canadian Dollar), CZK (Czech Koruna), DKK (Danish Krone), HKD (Hong Kong Dollar), HUF (Hungarian Forint), JPY (Japanese Yen), MYR (Malaysian Ringgit), NOK (Norwegian Krone), NZD (New Zealand Dollar), PLN (Polish Zloty), RON (Romanian Leu), SEK (Swedish Krona), SGD (Singapore Dollar).
Send to:
INR (Indian Rupee), USD (US Dollar), EUR (Euro), AED (UAE Dirham), GBP (British Pound), AUD (Australian Dollar), MXN (Mexican Peso), SGD (Singapore Dollar), NOK (Norwegian Krone), ARS (Argentine Peso), BDT (Bangladeshi Taka), BGN (Bulgarian Lev), BRL (Brazilian Real), CAD (Canadian Dollar), CHF (Swiss Franc), CLP (Chilean Peso), CNY (Chinese Yuan), CRC (Costa Rican Colón), CZK (Czech Koruna), DKK (Danish Krone), EGP (Egyptian Pound), GHS (Ghanaian Cedi), GEL (Georgian Lari), HKD (Hong Kong Dollar), HUF (Hungarian Forint), IDR (Indonesian Rupiah), ILS (Israeli Shekel), JPY (Japanese Yen), KES (Kenyan Shilling), KRW (South Korean Won), LKR (Sri Lankan Rupee), MAD (Moroccan Dirham), MYR (Malaysian Ringgit), NPR (Nepalese Rupee), NZD (New Zealand Dollar), PEN (Peruvian Sol), PHP (Philippine Peso), PKR (Pakistani Rupee), PLN (Polish Zloty), RON (Romanian Leu), SEK (Swedish Krona), THB (Thai Baht), TRY (Turkish Lira), UAH (Ukrainian Hryvnia), VND (Vietnamese Dong), ZAR (South African Rand), ZMW (Zambian Kwacha).
Wise Pricing and Subscription
Wise is a finance application, so it doesn’t have conventional charges. Instead, it charges you based on the type of transactions you have made. So, specifying the cost that can be incurred and that may not, below is a table I have provided for you from the perspective of the United States.
| Factors | Prices |
|---|---|
| Sending Money | 0.29% (Varies based on the currency) |
| Holding Over 40 Currencies | Free |
| Receiving Money in 23 Languages | Free |
| Receiving Local Payment (With and Without Wire) | Free |
| Receiving USD Wire and Swift Payments | 6.11 USD |
| Receiving CAD Swift Payments | 10 CAD |
| Receiving GBP Swift Payment | 2.16 GBP |
| Receiving EUR Swift Payment | 2.39 EUR |
| Receiving Swift Payments in 20 Currencies | You can see how much they cost from here |
How to Use the Wise Application?
If getting started with the application seems confusing to you, then I have provided the steps to use Wise below.
Step 1:
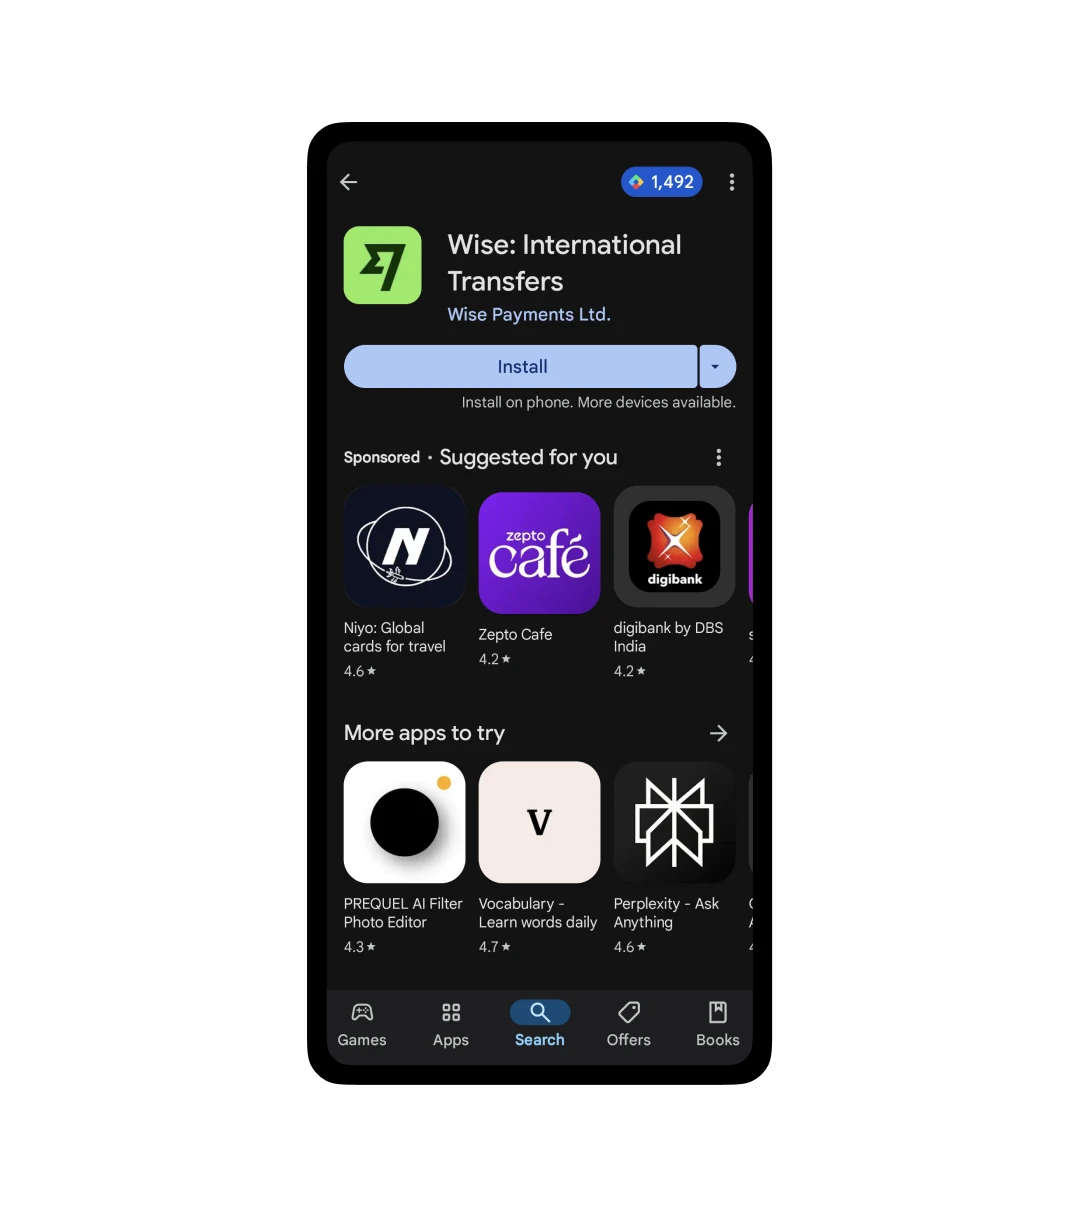
Reach the Google Play Store or Apple App Store to search for the application and download it.
Step 2:
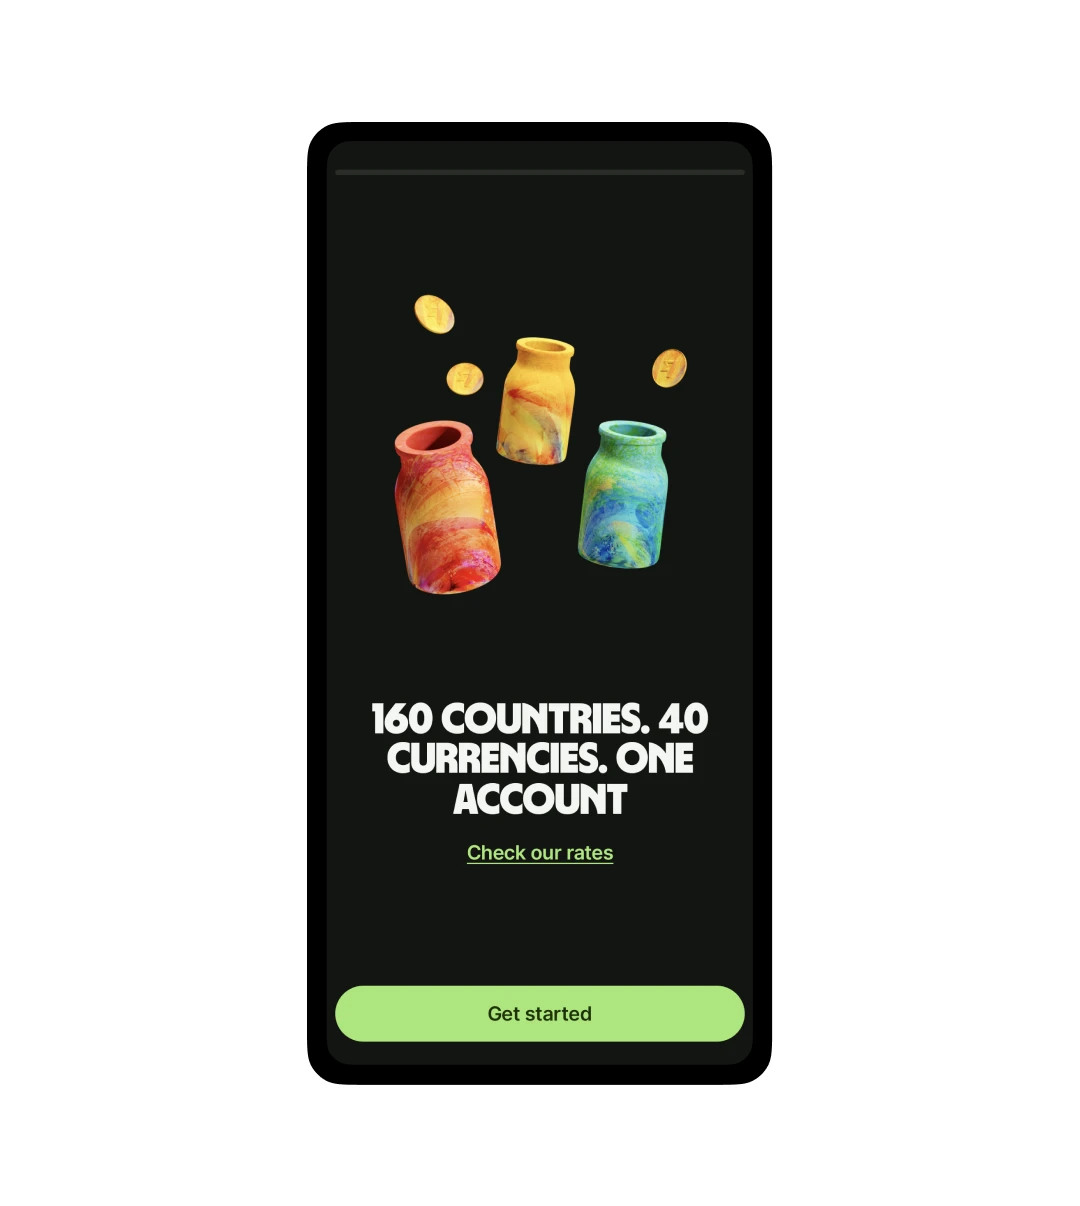
Now, click on “Get Started” to initiate the process.
Step 3:
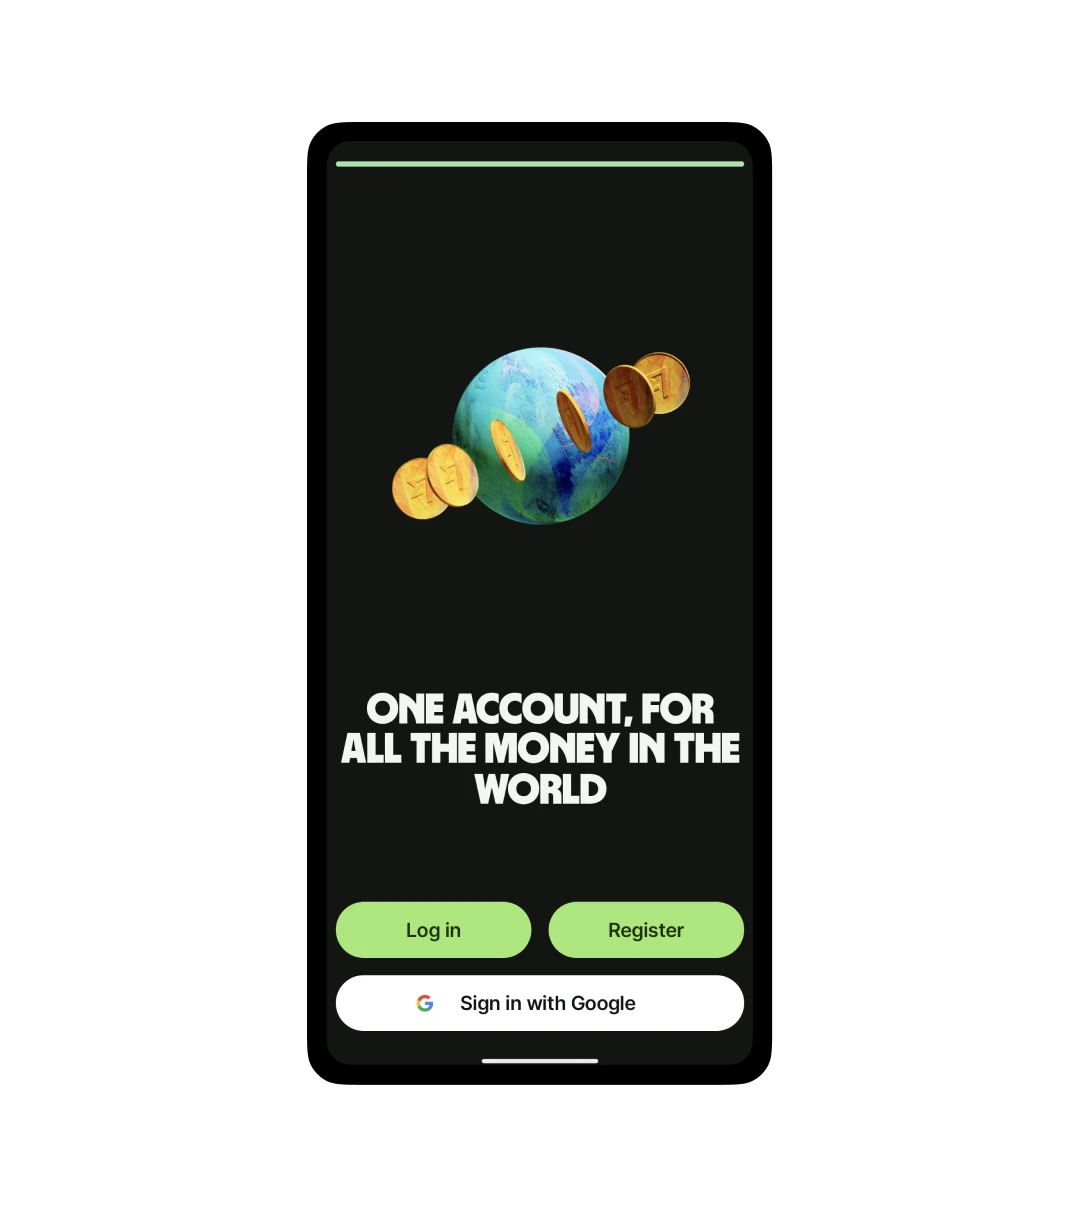
Now, you will have three options for using the app. If you are a first-time user, either go for “Register” or “Sign in with Google.” And if you already have an account, log in.
Now, since I had a Gmail account, I went for “Sign in with Google.”
Step 4:
Choose the kind of account you want, i.e., Personal Account (to spend, send, and receive money) and Business Account (For Business or Freelance Work). I went with a Personal Account.
Step 5:
Now, select where you live from the dropdown provided and click on continue.

Step 6:
On this page, you can check out the different services you can avail of in the selected region. Once you have seen it, click on “Next.”

Step 7:
Now, enter your phone number to receive the code and click on “Send Code.” Either your smartphone will automatically pick the code, or you can add it manually upon receiving it in the message.
Step 8:
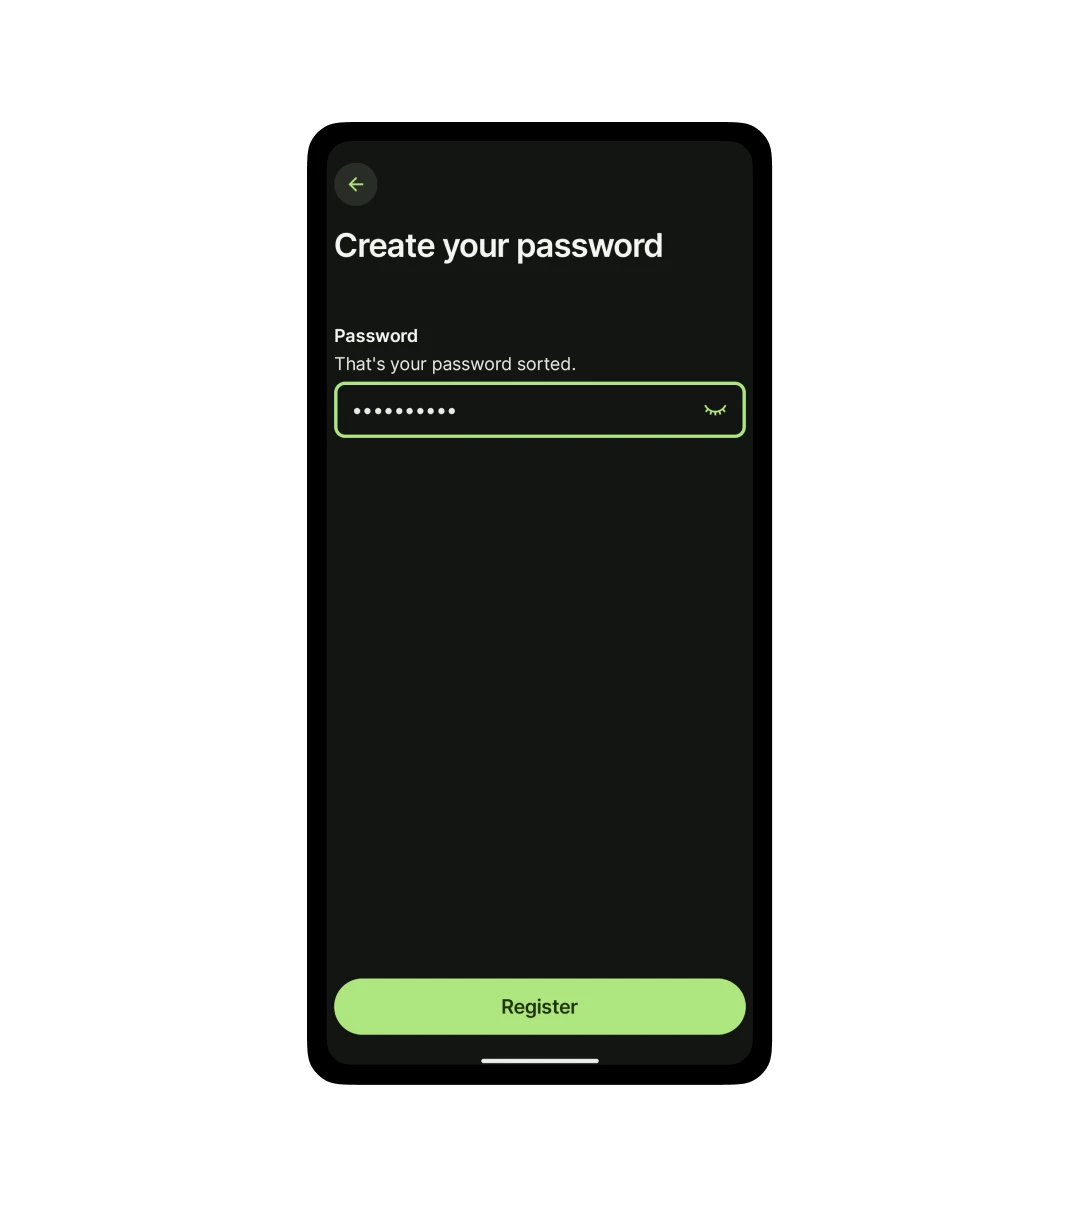
Now, choose a password of your choice and click on Register to complete the registration process.
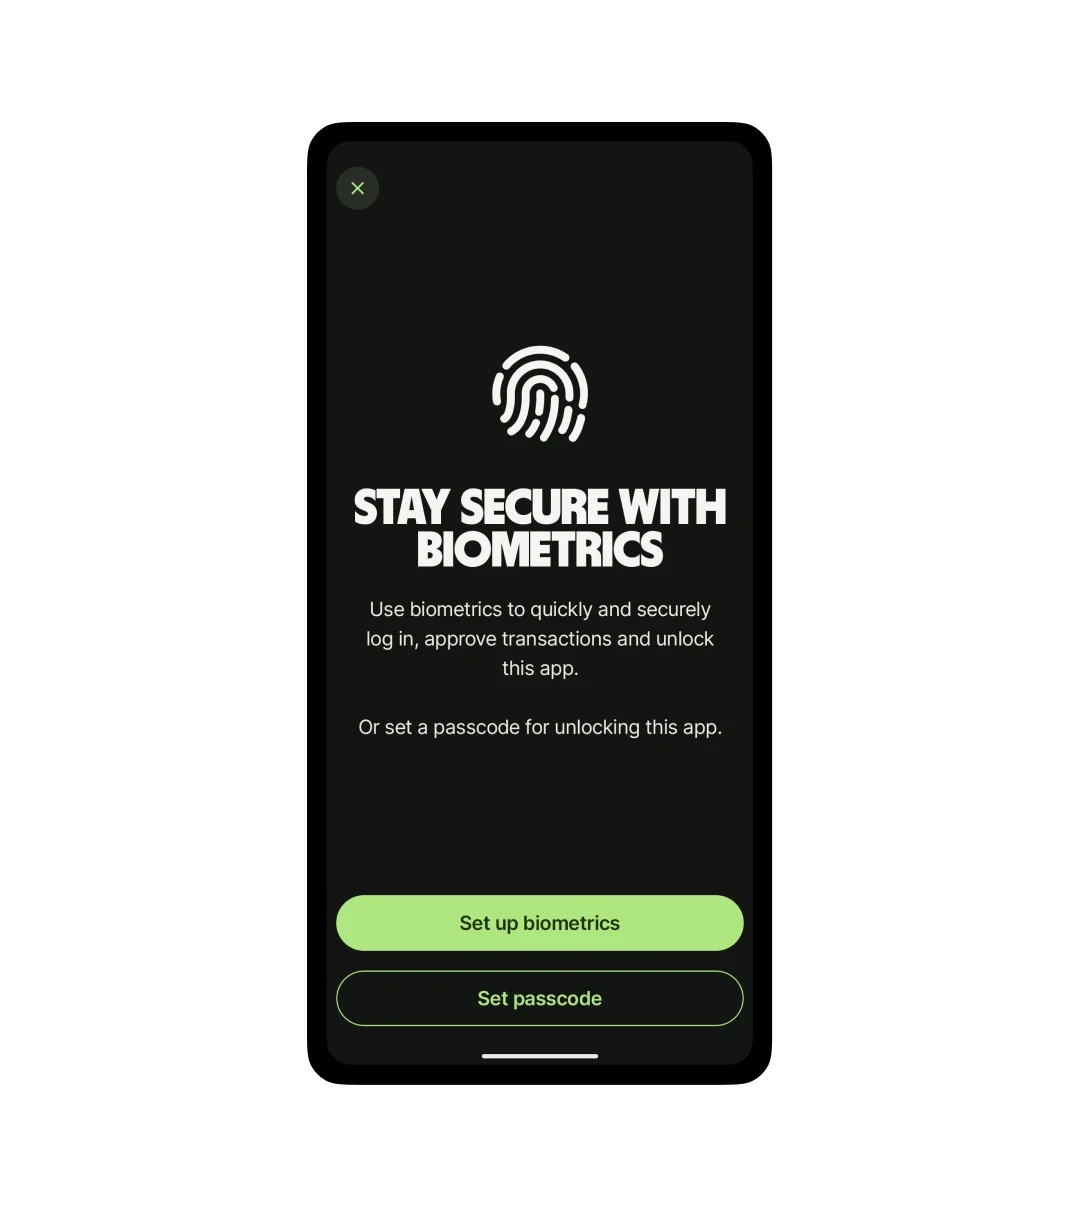
Step 9:
On this page, you can either choose biometrics to log in or set your passcode to access the app.
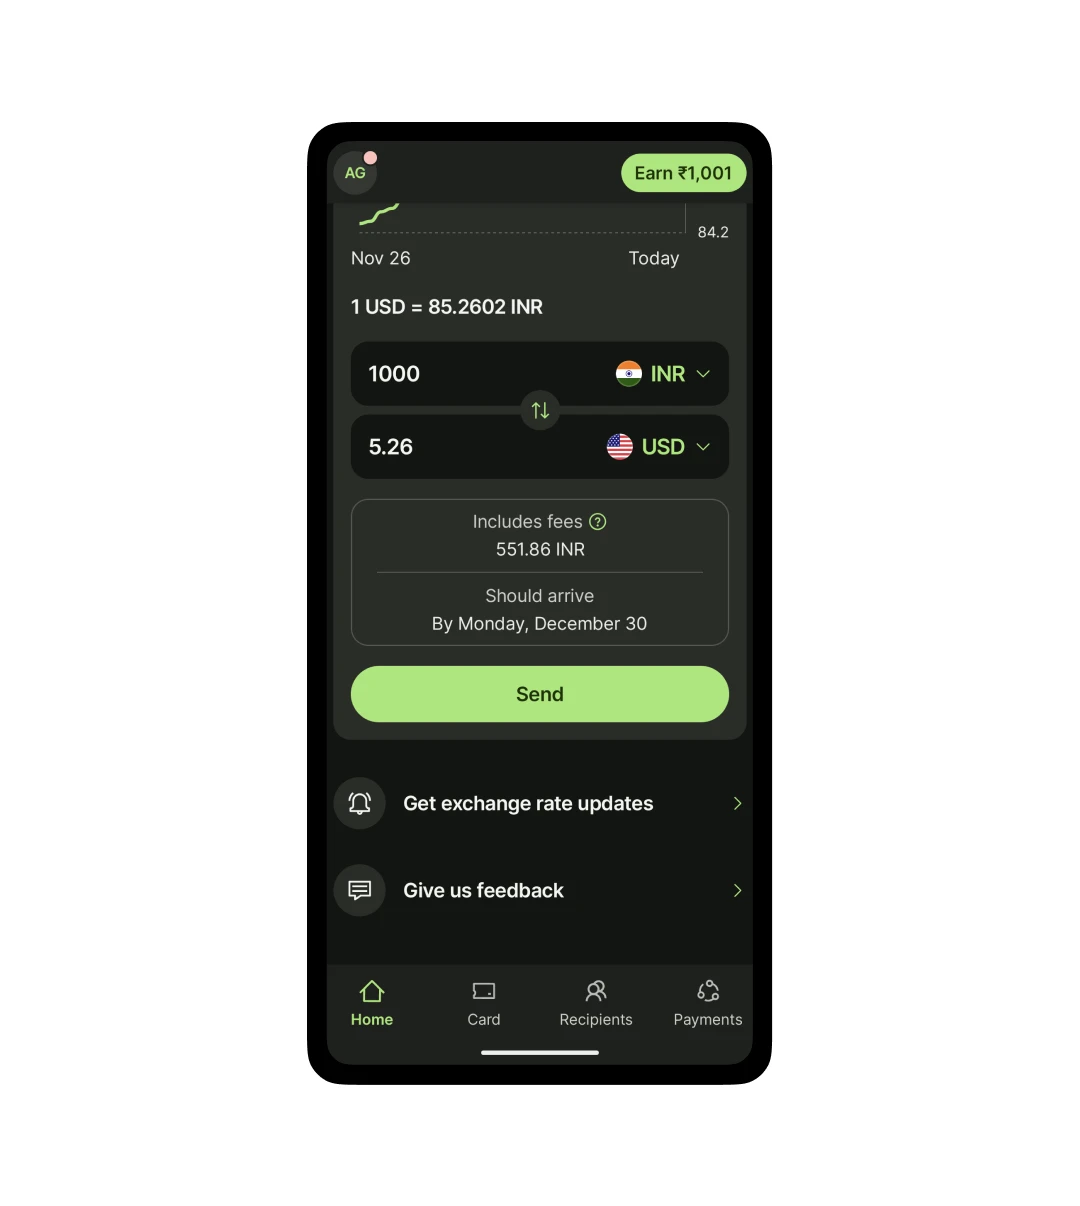
Step 10:
Now enter your personal information like Full Name, Date of Birth, Residence, etc, and other personal information. Once done, you will look at a dashboard that looks like the image above.
Customer Reviews
How was your experience with the product?